Nail art looks simple until you actually try it. One moment you’re inspired by flawless designs online, the next you’re staring at smudged polish and uneven lines. I’ve been there. Most beginners run into the same frustrations, and almost all of them come down to a handful of avoidable errors. If you want cleaner designs, longer-lasting polish, and less stress, understanding these nail art mistakes to avoid for beginners will change everything. Let’s break it down. Not theoretically. Practically.
Why Nail Art Mistakes Happen (Especially for Beginners)
Mistakes aren’t random. They follow patterns. Most beginners jump straight into design without mastering the basics. It’s tempting those intricate swirls and gradients look exciting but skipping fundamentals creates problems that no amount of creativity can fix.
Here’s what usually goes wrong:
- Rushing the process — Nail art rewards patience, not speed
- Using the wrong tools — Improvised tools rarely deliver clean results
- Following tutorials blindly — Watching is not the same as doing
- Ignoring nail health basics, which are tied to broader concepts like keratin that determine nail strength
The truth? Nail art is part technique, part discipline. Once you respect both, everything improves.
Skipping Nail Prep (The #1 Mistake)
If there’s one mistake I’d eliminate instantly, it’s this one. Preparation is everything. You can create a beautiful design, but if the base isn’t right, it won’t last or look clean.
Why prep matters more than design
Polish sticks better to a clean, smooth surface. Oils, dust, and uneven texture prevent proper adhesion.
Common prep mistakes
- Not washing hands before starting
- Leaving natural oils on the nail surface
- Skipping cuticle care
- Not shaping nails evenly
Simple beginner prep routine
- Wash hands and dry thoroughly
- Push back cuticles gently
- File nails into your desired shape
- Lightly buff the surface
- Wipe nails with alcohol or nail cleanser
It takes five minutes. It saves hours of frustration.
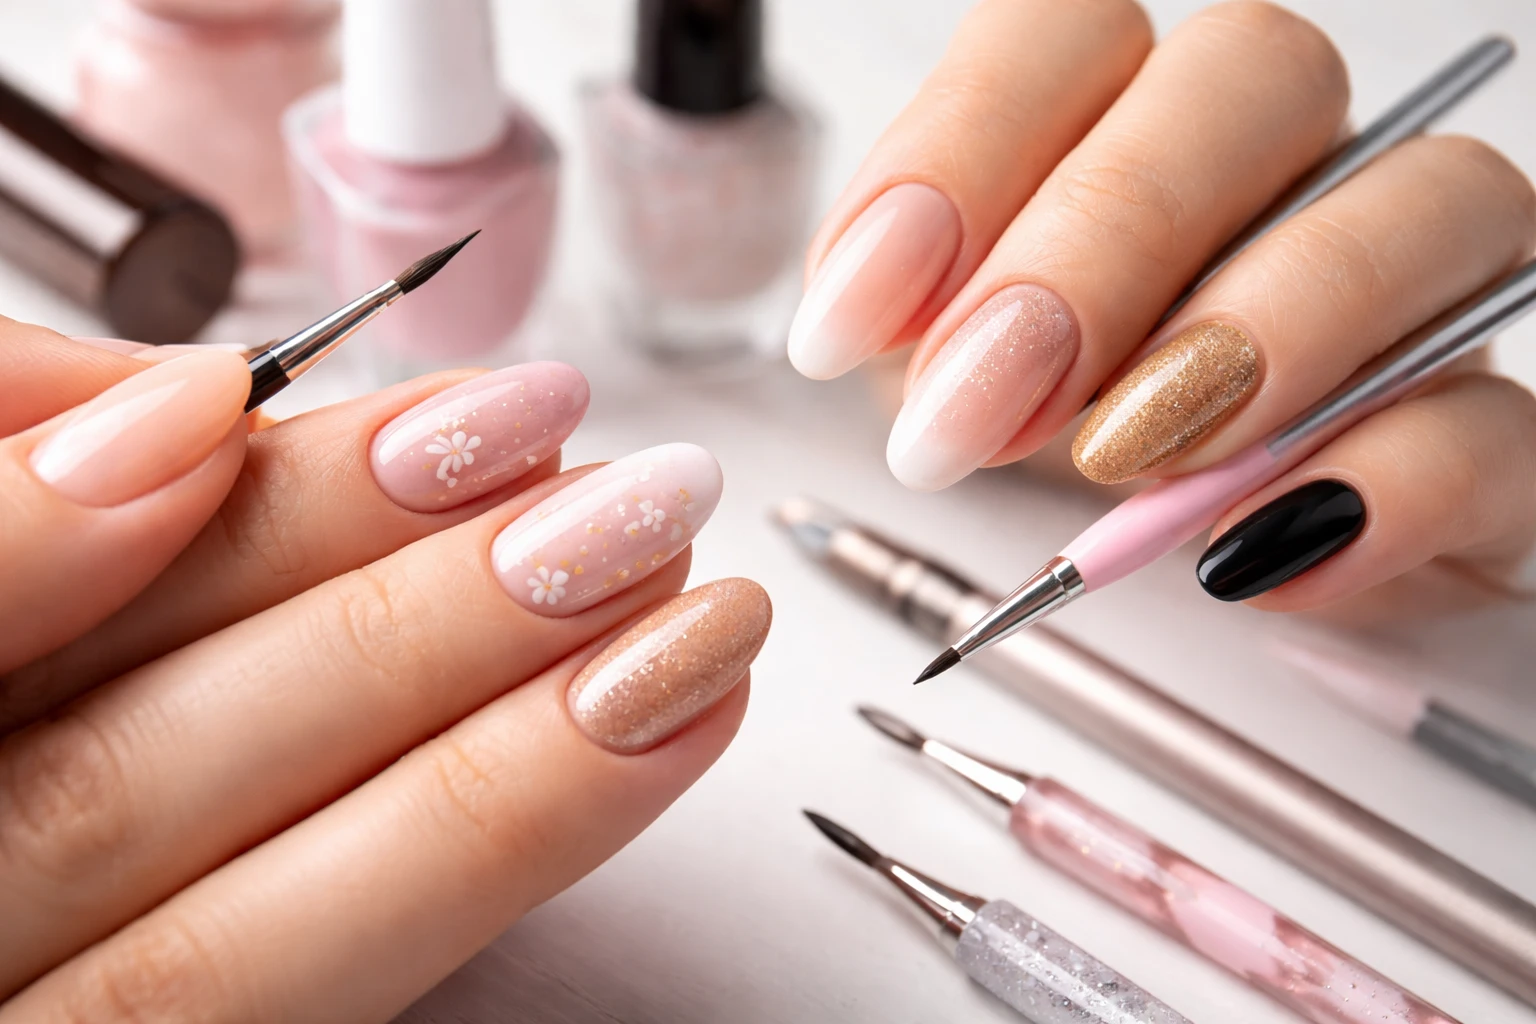
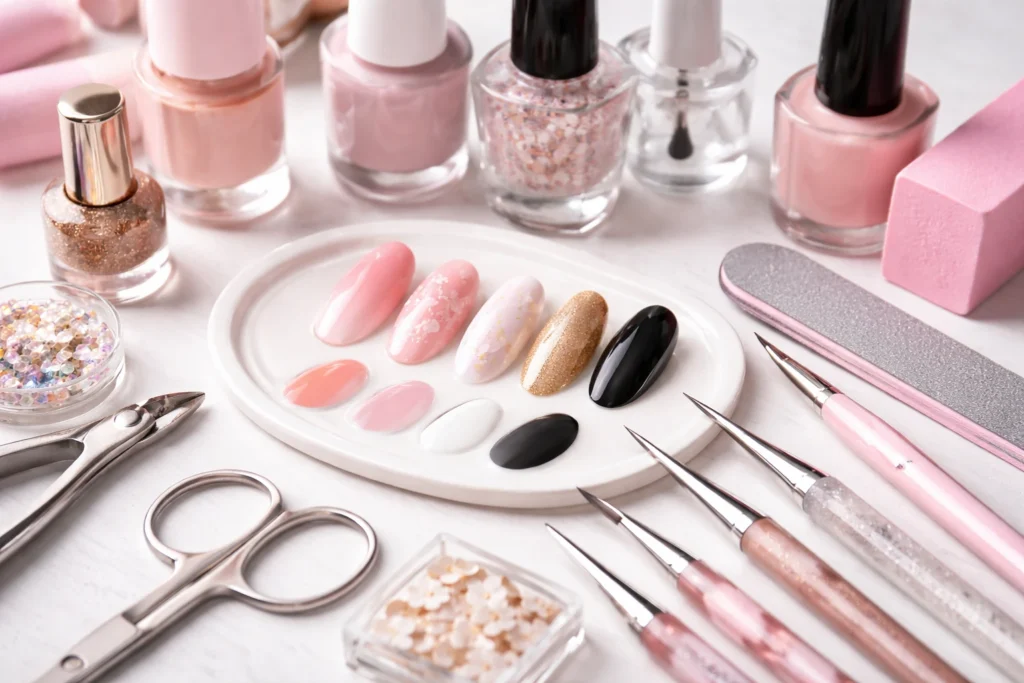
Using the Wrong Tools or Low-Quality Products
You don’t need expensive tools. But you do need the right ones. Trying to paint detailed designs with a thick, worn-out brush is like writing with a broken pen. It won’t work, no matter how skilled you are.
Must-have beginner tools
| Tool | Purpose |
| Nail file | Shapes edges evenly |
| Buffer | Smooths nail surface |
| Dotting tools | Creates dots and simple patterns |
| Thin brushes | Adds detail and lines |
| Nail polish remover + brush | Cleans edges |
How poor tools affect results
- Lines become shaky and uneven
- Designs look bulky instead of precise
- Polish applies inconsistently
Investing in a few basic tools instantly improves your output. No exaggeration.
Applying Polish Too Thick (or Too Thin)
This is one of the most common nail art mistakes to avoid for beginners, and it shows immediately.
The problem with thick layers
- Takes longer to dry
- Smudges easily
- Looks uneven and heavy
Why thin layers work better
Thin layers dry faster. They build evenly. They look cleaner.
Technique tip: The 3-stroke method
- One stroke down the center
- One on each side
That’s it. Don’t overwork it. If you remember nothing else remember this. Thin coats win every time.
Not Letting Layers Dry Properly
Impatience ruins more nail designs than lack of skill. You think it’s dry. It’s not. Then you add another layer… and everything shifts. Interestingly, drying behavior relates to how solvents evaporate a process connected to concepts like diffusion, which explains why thin layers dry faster than thick ones.
Signs your polish isn’t ready
- It feels slightly tacky
- It dents when lightly touched
- It drags when applying another coat
Quick drying tips
- Wait at least 2–3 minutes between layers
- Use a quick-dry top coat
- Avoid thick polish application
Good nail art is built in stages. Respect the time each stage needs.
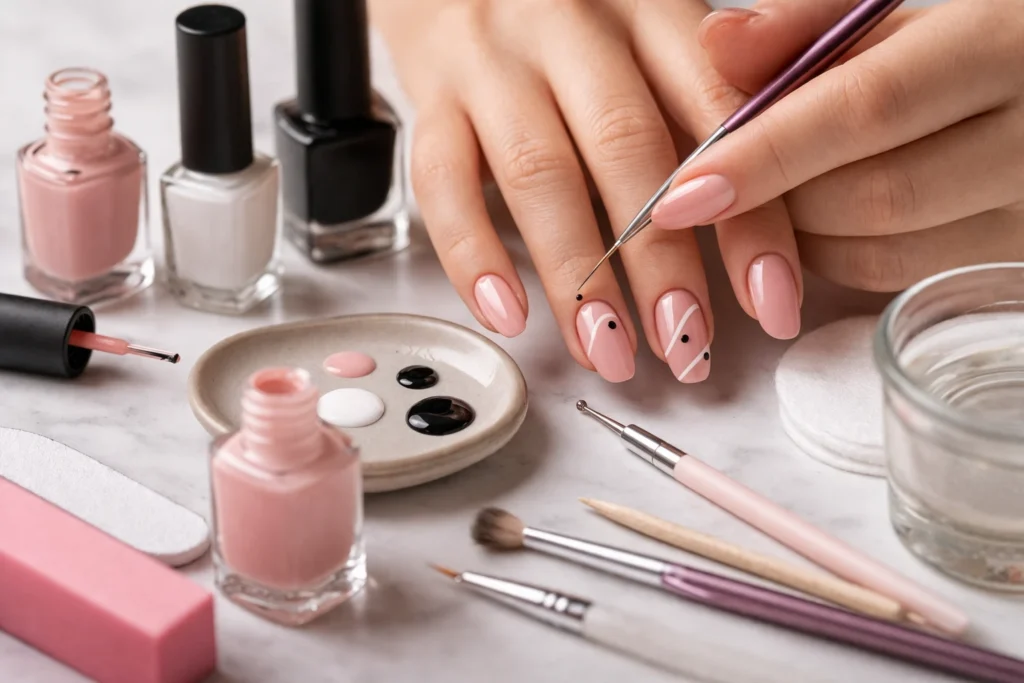
Overcomplicating Designs Too Early
I get it. You want your nails to stand out.
But starting with complex designs is one of the biggest nail art mistakes to avoid for beginners.
Why simple designs look better
Simple designs highlight precision. Complex designs expose mistakes.
Common beginner mistakes
- Trying gradients without practice
- Overloading nails with details
- Mixing too many colors
Beginner-friendly ideas
- Dots
- Stripes
- Accent nails
- Minimalist patterns
Clean beats complicated. Every time.
Ignoring Base Coat and Top Coat
Skipping these steps might save time. It also guarantees poor results.
What a base coat does
- Protects your natural nail
- Helps polish stick better
- Prevents staining
Why a top coat matters
- Seals the design
- Adds shine or matte finish
- Extends wear time
Skipping them is like painting without primer or sealant. It shows.
Poor Brush Control and Hand Stability
Even simple designs fall apart without control.
Your hands don’t need to be perfectly steady. They just need support.
How to improve stability
- Rest your painting hand on a flat surface
- Hold your breath briefly while drawing fine lines
- Use smaller tools for precision
Practice drills
- Draw straight lines on paper first
- Practice dots evenly spaced
- Work on one nail repeatedly
Skill improves faster than you expect if you practice intentionally.
Not Cleaning Up Edges
This is the difference between “beginner” and “polished.”
Even great designs look messy if the edges aren’t clean.
Easy cleanup method
- Dip a thin brush in remover
- Carefully trace around the nail edges
That’s it. Simple. Effective.
Why it matters
Clean edges make your nails look professionally done even if the design is basic.
Choosing the Wrong Nail Shape for Designs
Not every design works on every nail shape.
That’s something beginners often overlook.
Beginner-friendly shapes
- Round — Easy to maintain
- Squoval — Balanced and versatile
- Oval — Great for elongating fingers
Matching design to shape
| Nail Shape | Best Design Style |
| Short nails | Minimalist designs |
| Long nails | Detailed artwork |
| Rounded | Soft patterns |
| Square | Geometric designs |
Choosing the right shape makes your design easier and better.
Forgetting Nail Health and Aftercare
You can’t build great nail art on damaged nails.
Warning signs
- Peeling
- Breakage
- Discoloration
Simple aftercare routine
- Apply cuticle oil daily
- Avoid excessive polish removal
- Give nails breaks between designs
Healthy nails hold polish better. They also look better naturally.
Comparing Yourself Too Much to Professionals
This one isn’t technical. But it matters.
Scrolling through perfect designs can make your work feel inadequate. That’s normal.
But it’s also misleading.
Reality check
- Professionals have years of practice
- Many photos are edited
- Mistakes aren’t shown
Better approach
Track your own progress.
Your first set vs. your fifth set? That’s the comparison that matters.
Quick Checklist: Nail Art Mistakes to Avoid
- Did I prep my nails properly?
- Am I using thin layers of polish?
- Did I allow enough drying time?
- Am I keeping the design simple?
- Did I use base and top coat?
- Are my edges clean?
- Am I using proper tools?
Beginner-Friendly Nail Art Workflow (Step-by-Step)
- Prep nails (clean, file, buff)
- Apply base coat
- Apply thin color layers (2 coats)
- Let each layer dry properly
- Add simple design
- Clean edges
- Apply top coat
Final Thoughts
Nail art isn’t about perfection. It’s about progress. You will make mistakes. That’s part of the process. But the difference between frustration and improvement is awareness. Once you understand the most common nail art mistakes to avoid for beginners, you stop repeating them and that’s when everything clicks.
Start simple. Stay patient. Focus on clean execution. And remember this: a well-done basic design will always look better than a rushed, complicated one. Keep going. You’ll get there faster than you think.
FAQs
The most common mistakes include skipping nail prep, applying thick polish, and rushing drying time.
Smudging usually happens because layers aren’t fully dry or the polish is applied too thick.
Yes, they help polish last longer, protect your nails, and give a cleaner finish.
Focus on clean edges, thin layers, and simple designs rather than complicated patterns.
Basic tools include a nail file, buffer, dotting tools, and thin brushes for details.
Wait at least 2–3 minutes or until the layer feels dry to the touch before adding another.
Uneven designs are often caused by poor brush control or using the wrong tools.
Yes, simple and minimal designs work especially well on short nails.
Use a small brush dipped in remover to clean edges or correct small errors.
It’s best to give your nails a few days off every couple of weeks to maintain nail health.