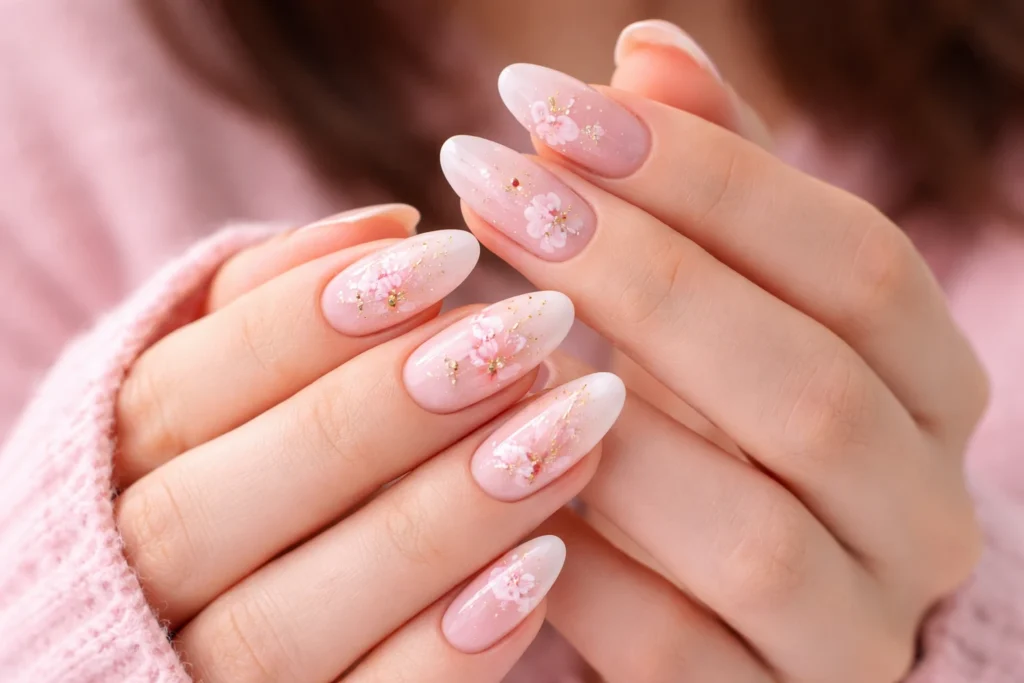
There’s nothing more frustrating than spending time on a beautiful manicure only to see it chip the next day. I’ve been there carefully painting each detail, letting it dry, feeling proud… then noticing a crack after washing dishes. That’s exactly why learning how to make nail art last longer at home matters. When you get it right, your nails don’t just look good they stay that way.
The truth? Long-lasting nail art isn’t about luck. It’s about process, consistency, and a few smart techniques most people skip. Let’s break it down.
Why Nail Art Doesn’t Last (And How to Fix It)
Before fixing the problem, you need to understand it.
Most nail art fails for simple reasons:
- Oils on the nail plate prevent adhesion
- Thick polish layers dry unevenly
- Skipping prep steps
- Daily habits (water, pressure, friction)
Humidity and heat can also weaken polish. Interestingly, environmental conditions like air composition and moisture levels studied in fields such as Hygrometry can subtly influence how polish dries and adheres.
Here’s the takeaway: durability starts before the polish even touches your nails.
Start With Proper Nail Preparation
If you remember one thing from this article, make it this: prep is everything.
Clean Nails Thoroughly
Even invisible oils can ruin your manicure.
Steps:
- Remove old polish completely
- Wash hands and dry well
- Wipe nails with alcohol or nail cleanser
This creates a clean surface for better adhesion.
Shape and Buff Carefully
A smooth nail helps polish grip better.
- File nails in one direction to avoid splits
- Lightly buff the surface (don’t overdo it!)
Buffing removes shine but more importantly, it creates a texture that polish can cling to.
Push Back Cuticles
Painting over cuticles leads to lifting. Fast. Use a cuticle pusher gently. Never force it. Clean edges mean longer wear.
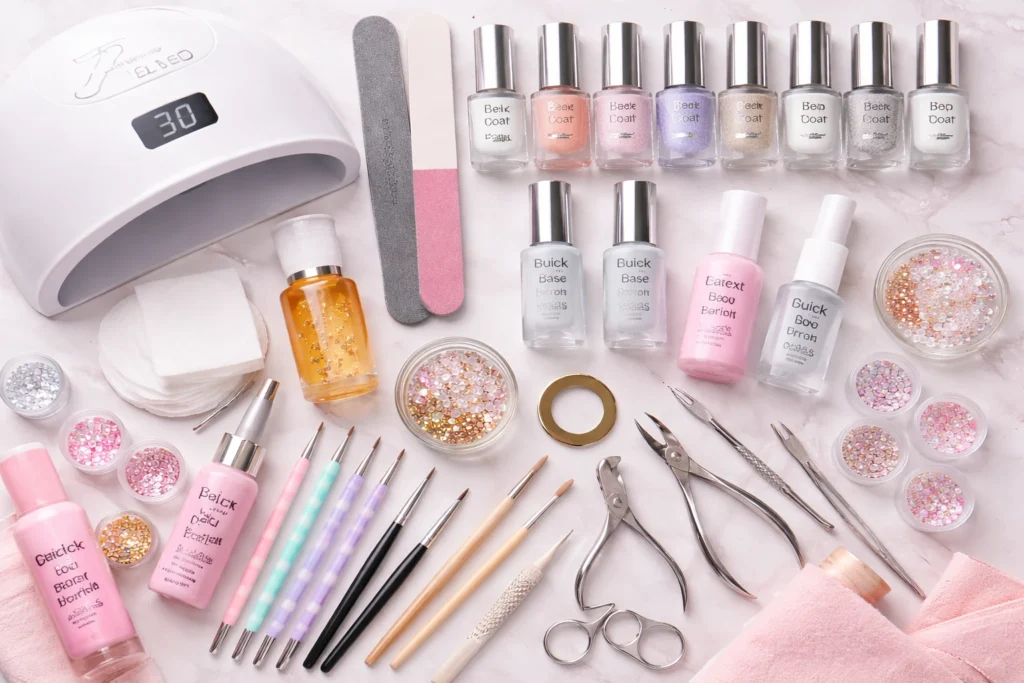
Choose the Right Nail Products
Not all nail products are created equal. This part makes a huge difference when learning how to make nail art last longer at home.
Base Coat: Your Foundation
Think of base coat as glue.
| Type of Base Coat | Best For |
| Strengthening | Weak or brittle nails |
| Ridge-filling | Uneven nail surfaces |
| Sticky base | Maximum polish adhesion |
Skipping base coat? Expect chipping within days.
Nail Polish Quality Matters
Cheap polish often contains weaker formulas. It may look good at first, but it won’t last.
Look for:
- Smooth consistency
- Strong pigmentation
- Quick but even drying
Top Coat: Your Shield
A good top coat protects everything underneath.
- Quick-dry top coats save time
- Gel-like top coats add thickness and shine
- Long-wear formulas resist chips
Never skip this step. Ever.
Apply Nail Polish the Right Way
Technique matters more than people think.
Thin Layers Win Every Time
It’s tempting to apply thick coats for faster coverage. Don’t.
Thin layers:
- Dry faster
- Stick better
- Reduce bubbling
Apply 2–3 thin coats instead of one thick one.
Cap the Edges
This is a small step. Huge impact. Run polish along the tip of your nail. This seals the edge and prevents early chipping.
Be Patient With Drying
Rushing ruins everything.
Wait:
- 1–2 minutes between thin coats
- 5–10 minutes before applying top coat
Yes, it takes time. But it’s essential if you want to master how to make nail art last longer at home.
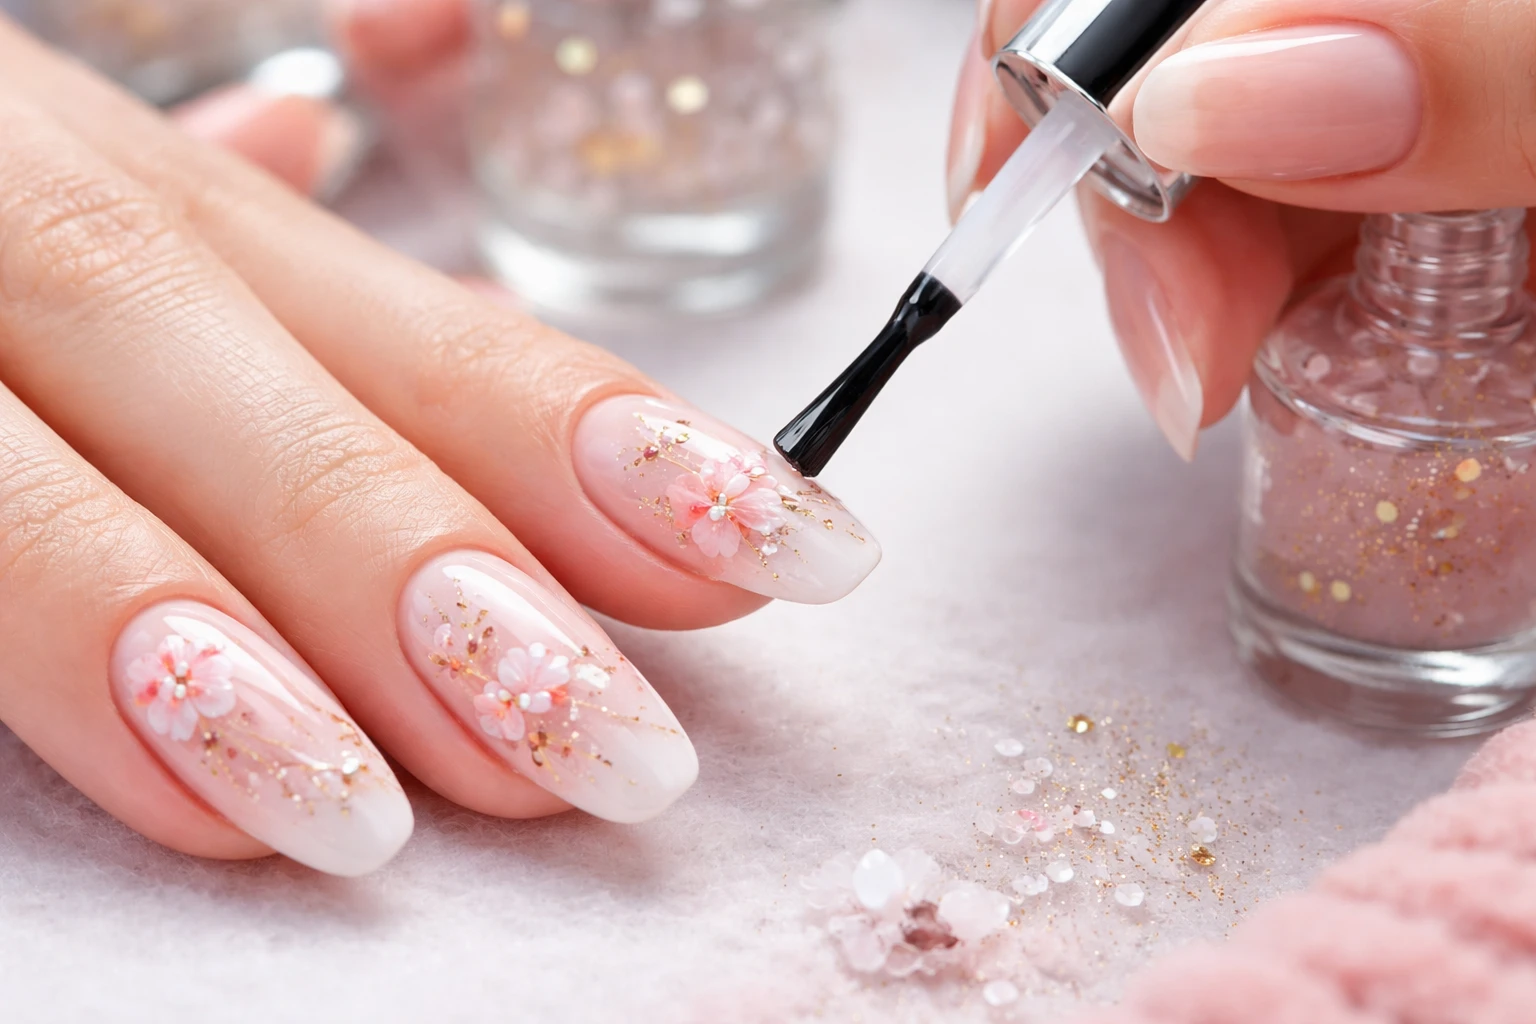
Nail Art Techniques That Actually Last
Design matters too. Not just polish.
Use the Right Tools
Precision tools make cleaner designs and cleaner designs last longer.
Common tools:
- Fine brushes for details
- Dotting tools for patterns
- Striping tape for sharp lines
Let Each Layer Dry Fully
Layering wet polish over semi-dry polish causes smudging and lifting. Slow down here. It pays off.
Seal Your Design Properly
When applying top coat:
- Use a floating motion
- Don’t press too hard
- Avoid dragging the brush
This protects your design without ruining it.
Protect Your Nails Daily
You can do everything right and still ruin your nails with daily habits.
Wear Gloves for Chores
Water is your manicure’s biggest enemy.
- Washing dishes
- Cleaning with chemicals
- Long showers
All weaken polish.
Stop Using Nails as Tools
Opening cans. Scraping labels. Peeling stickers. We’ve all done it. But these small actions cause major damage.
Moisturize Smartly
Dry nails break easily. But oily nails repel polish.
Balance it:
- Use cuticle oil daily (after polish is fully set)
- Avoid oils before painting
Reapply Top Coat for Extra Life
Here’s a trick many people overlook. Reapply top coat every 2–3 days.
Benefits:
- Refreshes shine
- Adds extra protection
- Seals minor wear
It’s one of the easiest ways to improve how to make nail art last longer at home.
Quick Fixes for Small Chips
A chipped nail doesn’t mean starting over.
Try this:
- Lightly buff the chipped area
- Apply a small amount of polish
- Add a fresh top coat
Or get creative:
- Add glitter over the chip
- Turn it into part of the design
Problem solved.
Common Mistakes That Ruin Nail Art
Avoid these, and your results improve instantly.
- Skipping base coat
- Applying polish on wet nails
- Using thick layers
- Not sealing the edges
- Rushing drying time
These mistakes are simple but costly.
Healthy Nails = Long-Lasting Nail Art
Strong nails hold polish better. It’s that simple. Interestingly, the structure and durability of nails are influenced by biological processes studied in fields like Keratin, which explains why stronger nails naturally hold polish longer.
Nail Health Basics
- Stay hydrated
- Eat foods rich in biotin
- Avoid excessive filing
Prevent Breakage
Keep nails at a manageable length. Long nails look great but they’re more prone to damage.
Should You Try Gel at Home?
If you want maximum durability, gel polish is worth considering.
Benefits of Gel Nail Art
- Lasts up to 2–3 weeks
- Resistant to chipping
- High-gloss finish
What You Need
- UV or LED lamp
- Gel base and top coat
- Gel polish colors
Is It Worth It?
If you’re serious about mastering how to make nail art last longer at home, gel is a strong option. But it requires proper removal and care.
How Long Should Nail Art Last?
With proper technique, regular polish should last:
- 5–7 days without chipping
- Up to 10 days with touch-ups
Gel can last 2–3 weeks. If your nail art chips within 1–2 days, something in your process needs adjusting.
Pro Tips That Make a Big Difference
These small habits separate average results from great ones.
- Paint nails at night to avoid immediate use
- Keep hands cool while drying
- Use quick-dry drops for convenience
- Avoid hot water for the first few hours
I’ve personally tested these and they work.
Final Thoughts
Learning how to make nail art last longer at home isn’t complicated but it does require attention to detail. It’s the prep. The patience. The small habits.
Skip those, and even the best polish won’t save you. But get them right? Your nail art won’t just look good it will last. And that’s the goal. Take your time. Follow the process. And enjoy the results you’ve earned them!
FAQs
Start with proper nail prep, use thin polish layers, seal edges, and apply a high-quality top coat regularly.
Chipping usually happens بسبب oils on the nail, thick polish layers, or skipping base and top coats.
With proper care, regular polish can last 5–7 days, while gel nail art can last up to 2–3 weeks.
Yes, a base coat improves adhesion and prevents staining, helping your nail art last much longer.
Every 2–3 days to maintain shine and protect your nail art from chipping.
Yes, but make sure each layer dries properly to avoid smudging and lifting.
Frequent exposure to water weakens polish, which is why wearing gloves during chores helps.
Use thin layers, allow time between coats, and apply quick-dry drops or spray.
Yes, lightly buff the area, touch up with polish, and reseal with top coat.
Gel polish lasts longer and resists chipping, but it requires proper curing and removal.