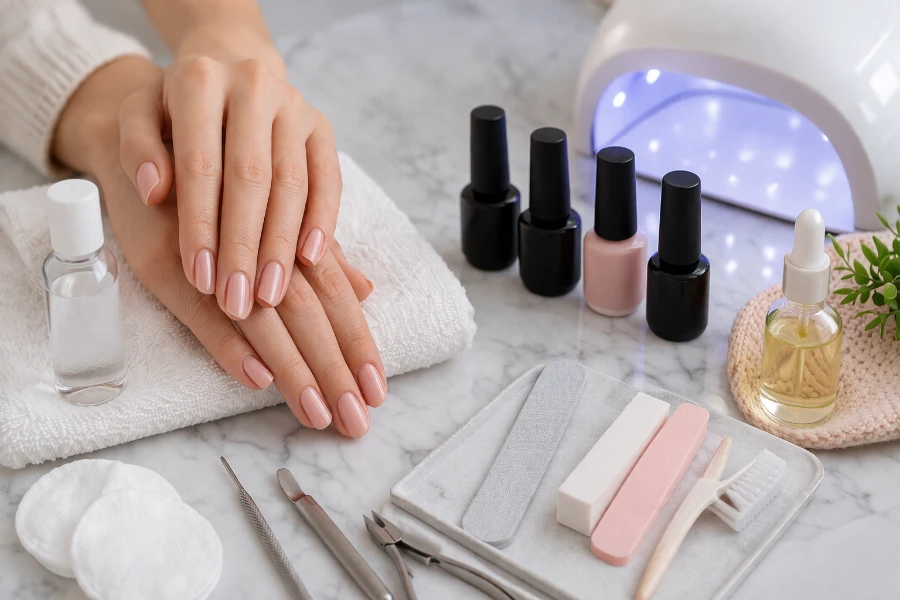
Gel polish promises one thing: long-lasting, glossy nails that don’t chip in a few days. And yet, if you’ve ever wondered how to make gel polish last longer at home, you already know the reality can fall short. Peeling after a week. Lifting at the edges. That one nail that betrays you early.
I’ve been there. More than once.
The truth is simple—but not always obvious. Long-lasting gel isn’t about one magic step. It’s about a series of small, precise actions done consistently. Miss one, and the whole system weakens.
Let’s fix that.
Why Gel Polish Doesn’t Last as Long as It Should
Before we talk about solutions, we need to talk about what’s going wrong.
Most gel manicures fail early for predictable reasons:
- Poor nail preparation
- Thick or uneven application
- Incomplete curing
- Low-quality products
- Everyday habits (water, chemicals)
Even something as small as leftover oil on your nail plate can prevent proper adhesion. This happens because oils interfere with surface bonding at a microscopic level, similar to how Surface tension affects how liquids interact with surfaces.
If you’re serious about learning how to make gel polish last longer at home, you need to treat the process like a system—not a shortcut.
Start with Proper Nail Preparation
This is where most people rush. And it’s exactly where you shouldn’t.
Clean and Remove Oils Thoroughly
Your nails might look clean, but oils are invisible. They sit on the surface and block gel from bonding properly.
What to do:
- Wash hands first
- Wipe nails with alcohol or nail cleanser
- Avoid touching nails afterward
Even a quick swipe with your fingers can transfer oils back. Be mindful.
Push Back Cuticles (Don’t Skip This!)
Cuticle overlap is one of the biggest reasons gel lifts early.
If gel sits on the cuticle instead of the nail plate, it won’t stick. It will peel. Quickly.
Quick method:
- Soften cuticles slightly (no soaking)
- Use a cuticle pusher gently
- Remove dead tissue from the nail plate
This step alone can add days—sometimes a full week—to your manicure.
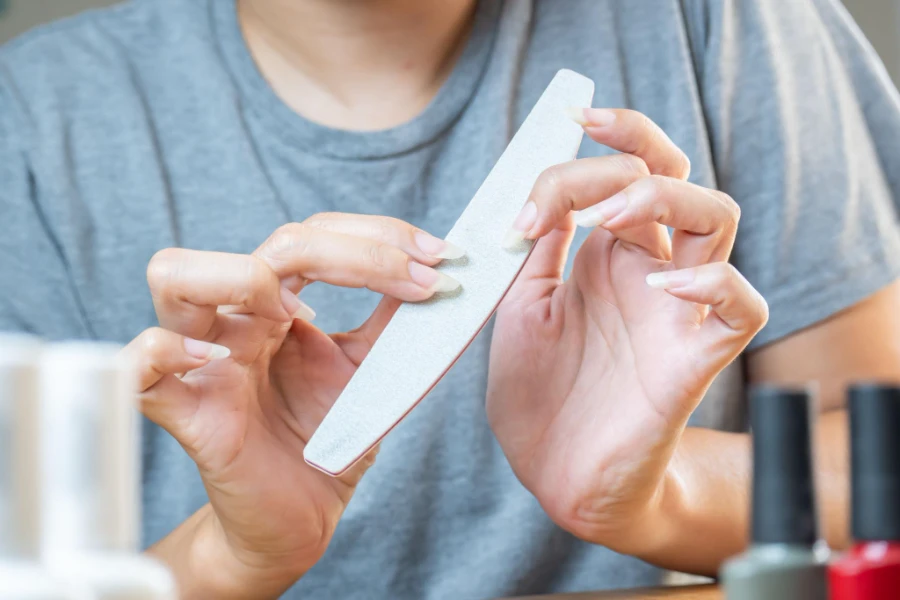
Buff the Nail Surface Lightly
You’re not sanding wood. You’re creating just enough texture for the gel to grip.
- Use a fine buffer
- Focus on removing shine, not thinning the nail
- Keep it gentle and even
Too much pressure weakens your nails. Too little leaves the surface too smooth.
Shape and File Correctly
Your nail shape affects durability more than you think.
Sharp edges catch on things. And when they catch, they lift.
Best practice:
- File in one direction
- Smooth the edges completely
- Choose practical shapes (rounded or squoval last longer)
Use High-Quality Products
Let’s be honest. Not all gel products are created equal.
You can do everything right and still get poor results if your products don’t perform.
Choosing a Good Base Coat
This is the foundation. Literally.
A strong base coat:
- Improves adhesion
- Prevents lifting
- Protects your natural nail
If you’re investing anywhere, invest here.
Gel Polish Quality Differences
Cheap gel can look fine at first. But it often:
- Chips faster
- Shrinks after curing
- Requires more coats
Professional-grade gel usually applies smoother and lasts longer with fewer layers.
Top Coat Matters More Than You Think
Your top coat is your shield.
It protects against:
- Scratches
- Water exposure
- Daily wear
A weak top coat = short-lived manicure.
Master the Application Technique
Technique matters more than tools. Always.
Apply Thin, Even Layers
Thick layers might seem faster. They’re not.
They:
- Cure unevenly
- Trap air
- Peel faster
Interestingly, uneven curing can create structural inconsistencies similar to how Polymerization behaves when materials don’t bond uniformly.
Rule of thumb: If it looks thick, it is.
Cap the Edges Properly
This is one of the simplest ways to improve longevity.
When you apply each layer, run the brush along the tip of your nail.
This seals the edge and prevents lifting from the front.
Avoid Skin Contact
Gel should stay on the nail. Not your skin.
If it touches your skin:
- It lifts sooner
- It weakens the application
Clean edges. Always.
Cure Your Gel Polish Correctly
You can do everything right and still fail here.
Curing is non-negotiable.
Use the Right Lamp (LED vs UV)
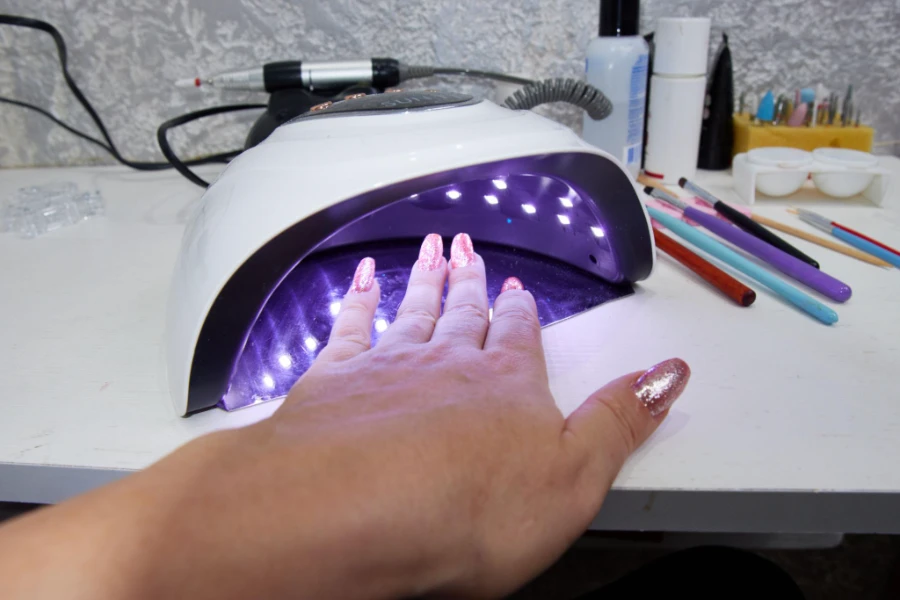
Not all gels work with all lamps.
- LED lamps cure faster
- UV lamps take longer but are more universal
Check compatibility. It matters.
Follow Recommended Cure Times
Under-curing is one of the biggest mistakes.
| Layer | Typical Cure Time (LED) | Typical Cure Time (UV) |
| Base Coat | 30–60 seconds | 1–2 minutes |
| Color Coat | 30–60 seconds | 2 minutes |
| Top Coat | 60 seconds | 2–3 minutes |
Don’t guess. Follow the product instructions.
Don’t Rush Between Layers
Let each layer cure fully before moving on.
Stacking uncured layers leads to:
- Bubbling
- Peeling
- Weak structure
Patience pays off here.
Protect Your Gel Nails Daily
Even the best manicure won’t survive rough habits.
Wear Gloves for Chores
Water is the silent enemy of gel polish.
Long exposure weakens adhesion.
Wear gloves when:
- Washing dishes
- Cleaning with chemicals
- Doing laundry
Avoid Using Nails as Tools
Opening packages. Scraping surfaces. It all adds stress.
Stop doing that—and your manicure will last longer.
Be Mindful of Heat and Moisture
Hot showers and steam can soften gel slightly over time.
You don’t need to avoid them. Just be aware.
Hydration Is Key (But Do It Right)
Hydration helps—but timing matters.
Use Cuticle Oil Daily
Healthy nails are flexible. Flexible nails don’t crack gel as easily.
Apply cuticle oil once or twice daily.
Moisturize Hands Without Over-Soaking Nails
Lotions are great. Long water exposure is not.
Balance is everything.
Fix Small Issues Before They Get Worse
A tiny lift can turn into a full peel overnight.
How to Handle Minor Lifting
- Lightly file the area
- Apply top coat
- Cure again
When to File and Re-Seal
- Smooth worn edges
- Reapply top coat
- Cure
Common Mistakes That Ruin Gel Manicures
- Skipping prep
- Thick layers
- Not capping edges
- Under-curing
- Peeling gel off
- Mixing incompatible products
Avoid these, and your results will improve immediately.
How Long Should Gel Polish Actually Last?
A well-done gel manicure should last:
2 to 3 weeks
What Affects Longevity?
- Nail growth
- Daily habits
- Product quality
- Technique
Signs It’s Time for Removal
- Lifting
- Chips
- Visible growth gap
Pro Tips to Make Gel Polish Last Even Longer
Advanced Longevity Tips
- Double base coat for weak nails
- Shorter nail length for durability
- Neutral shades for less visible wear
- Take breaks between applications
Quick Reference Table
| Tip | Impact |
| Nail prep | High |
| Thin layers | High |
| Proper curing | High |
| Cuticle oil | Medium |
| Gloves | Medium |
| Quality products | High |
When to Remove and Reapply Gel Polish
Why Proper Removal Matters
Peeling gel off damages your natural nails.
Safe Removal Basics
- File top layer
- Soak with acetone
- Gently remove
Final Thoughts
If you’ve been searching for how to make gel polish last longer at home, the answer is consistency.
Prep well. Apply thin. Cure properly. Protect daily.
Do that, and your gel manicure won’t just last longer—it will look better the entire time.
And once your manicure is lasting the way it should, you can have more fun with your style—like trying Disney toe nails creative designs.
FAQs
Focus on proper nail prep, thin layers, and correct curing to significantly extend wear time.
Peeling usually happens because of poor prep, thick application, or gel touching the skin.
A properly applied gel manicure should last around 2 to 3 weeks without major chipping.
Yes, light buffing removes shine and helps the gel adhere better to the nail surface.
Applying thick layers is one of the most common mistakes that leads to peeling and lifting.
Yes, using the correct lamp and curing time ensures the gel hardens properly and lasts longer.
Yes, daily cuticle oil keeps nails flexible and helps prevent cracking and lifting.
Frequent or prolonged water exposure can weaken adhesion and cause early lifting.
No, peeling it off can damage your natural nails and make future manicures less durable.
Yes, you can file edges and apply a fresh top coat to add a few extra days of wear.