Nail art rainbow design is not subtle. And that’s exactly the point.
Color has always been emotional. It signals mood, identity, and confidence before you say a single word. When those colors show up on your nails deliberately arranged, thoughtfully executed they become more than decoration. They become communication.
I’ve seen rainbow nails dismissed as playful or temporary. That thinking is outdated. Today, nail art rainbow design spans everything from quiet, office-friendly gradients to bold, high-impact statements that anchor an entire look. It’s no longer about novelty. It’s about control. Knowing when to go all in, and when to hold back just enough.
This guide breaks it all down. The styles that work. The techniques that matter. The mistakes that quietly ruin good intentions. And how to make rainbow nail art feel intentional instead of chaotic.
Let’s get into it.
Understanding Nail Art Rainbow Design (Before You Pick a Polish)
A true nail art rainbow design is not just “a lot of colors.”
It’s color with structure.
That structure begins with order. A rainbow follows a spectrum for a reason. When colors are scattered without regard for warmth, contrast, or visual weight, the result feels noisy. When they’re placed intentionally, even bold designs feel balanced.
There are two main approaches:
- Full-spectrum rainbow designs, where colors flow naturally from one to the next
- Selective rainbow designs, where only a few shades suggest the spectrum
Both are valid. Execution is what separates polished from messy.
Color harmony also isn’t just subjective. Human perception plays a role. The brain adapts to color relationships based on surrounding hues, a phenomenon studied in visual science known as chromatic adaptation. This explains why some rainbow palettes feel smooth and others feel jarring, even when the colors themselves are vibrant. If you’re curious about the deeper mechanics behind this perception.
Understanding this concept helps you choose combinations that feel intentional rather than overwhelming.
Popular Nail Art Rainbow Design Styles That Actually Hold Up
Classic Rainbow Stripes
This is where many people start. And for good reason.
Stripes impose order. They’re predictable, clean, and visually satisfying when done well. Thin, evenly spaced lines over a neutral base allow color to shine without overpowering the nail.
Vertical stripes subtly elongate shorter nails. Horizontal stripes are bolder but require precision. For beginners, classic stripes are one of the safest entries into nail art rainbow design.
Pastel Rainbow Nail Art
Pastels changed the way rainbow nails are perceived.
They soften the spectrum. Instead of shouting, they suggest. That’s why pastel rainbow designs dominate spring, weddings, and professional environments.
Why they work so well:
- Lower contrast reduces visual tension
- Colors blend naturally without harsh edges
- Minor imperfections are less noticeable
If you want rainbow nails that feel refined instead of loud, pastels are your best ally.
Neon Rainbow Nail Designs
Neon is unapologetic.
These designs thrive in high-energy settings festivals, nightlife, vacations. Neon rainbow nail art isn’t meant to blend in. It’s meant to anchor an entire look.
To make neon work:
- Use dark or neutral bases for contrast
- Limit extra detail let color do the heavy lifting
- Seal with a high-gloss top coat to enhance intensity
Without structure, neon looks unfinished. With discipline, it looks electric.
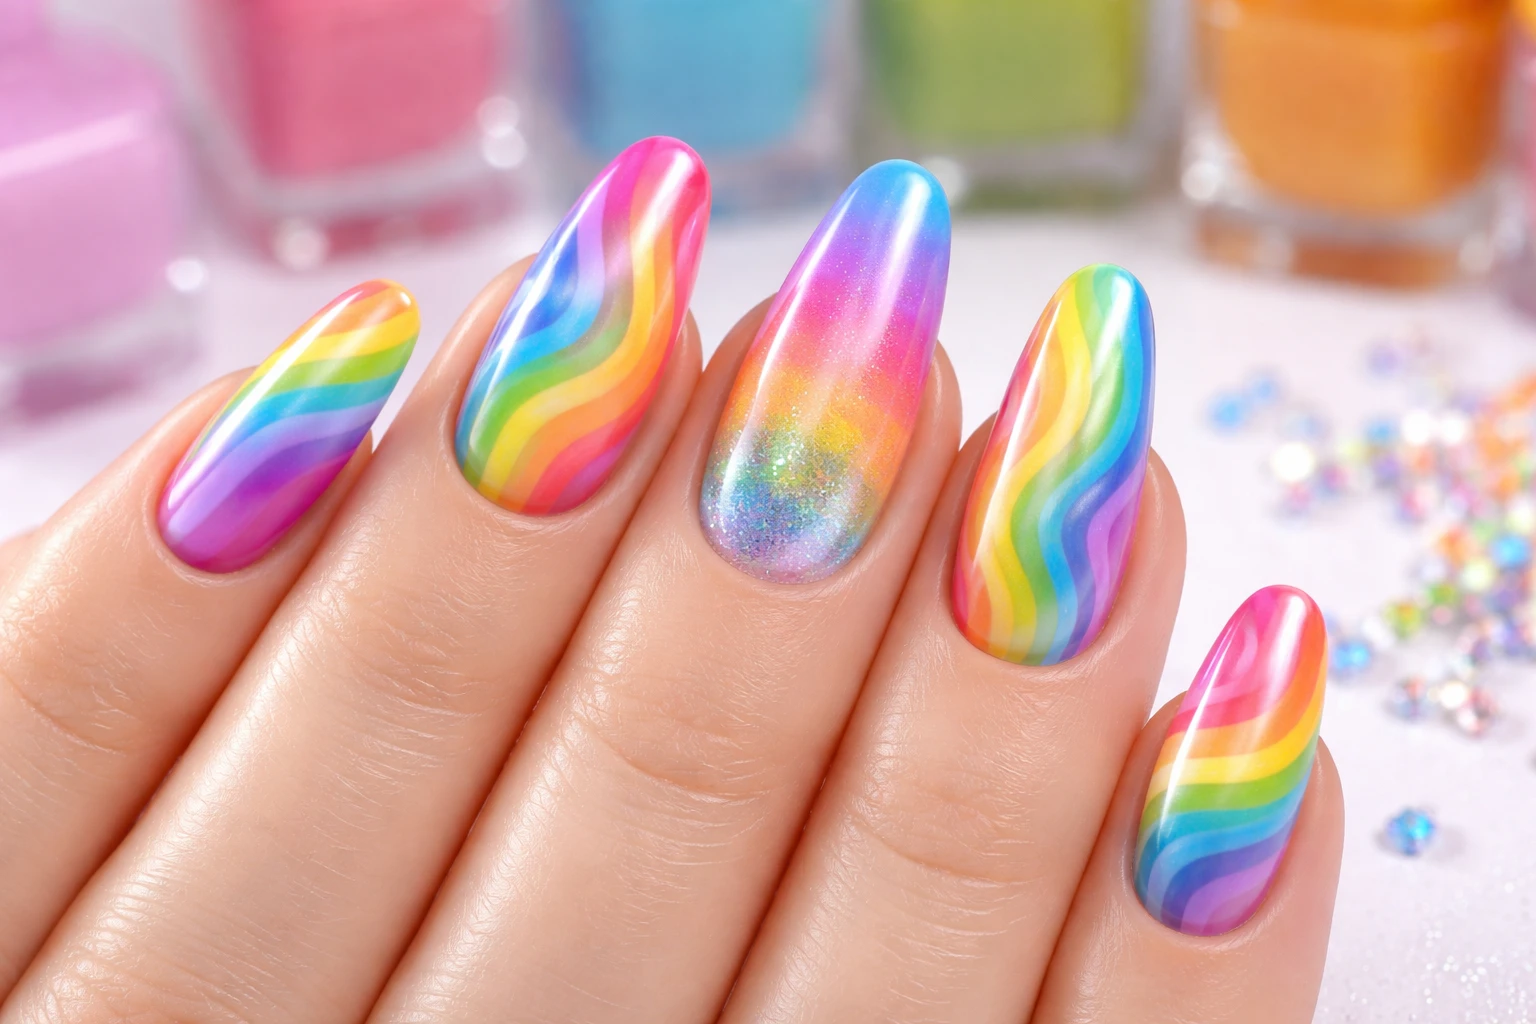
Ombre & Gradient Rainbow Nails
If stripes feel rigid, gradients offer flow.
Ombre rainbow nails blend colors seamlessly, either across individual nails or throughout the entire set. The effect feels modern, fluid, and deliberate when done patiently.
Two common methods:
- Sponge blending for soft transitions
- Brush blending for controlled fades
Rushing gradients shows immediately. Take your time.
Abstract & Artistic Rainbow Nails
This is where creativity steps forward.
Swirls. Curves. Negative space. Fragmented color placement.
Abstract nail art rainbow design works best when there’s still a visual anchor. Repeated shapes, consistent spacing, or neutral areas prevent chaos. Abstract doesn’t mean random. It means expressive within boundaries.
Nail Art Rainbow Design by Nail Shape & Length
Short Nails
Short nails benefit from restraint.
Effective approaches include:
- Vertical rainbow accents
- Single stripes or arcs
- Gradient tips
Too much detail overwhelms limited space.
Medium-Length Nails
This is the most forgiving length.
You have room to experiment without sacrificing balance. Full rainbow designs, accent nails, and mixed techniques all work here. It’s the sweet spot for versatility.
Long Nails
Long nails allow storytelling.
Each nail can represent a segment of the rainbow, or the entire spectrum can flow across the hand. Coffin, almond, and stiletto shapes support bold choices but demand precision. On long nails, flaws are amplified.
Nail Art Rainbow Design for Different Occasions
Everyday & Office-Friendly Rainbow Nails
Yes, rainbow nails can be professional.
The key is subtlety:
- Muted or pastel tones
- Thin lines
- Accent nails instead of full sets
A restrained nail art rainbow design reads creative, not distracting.
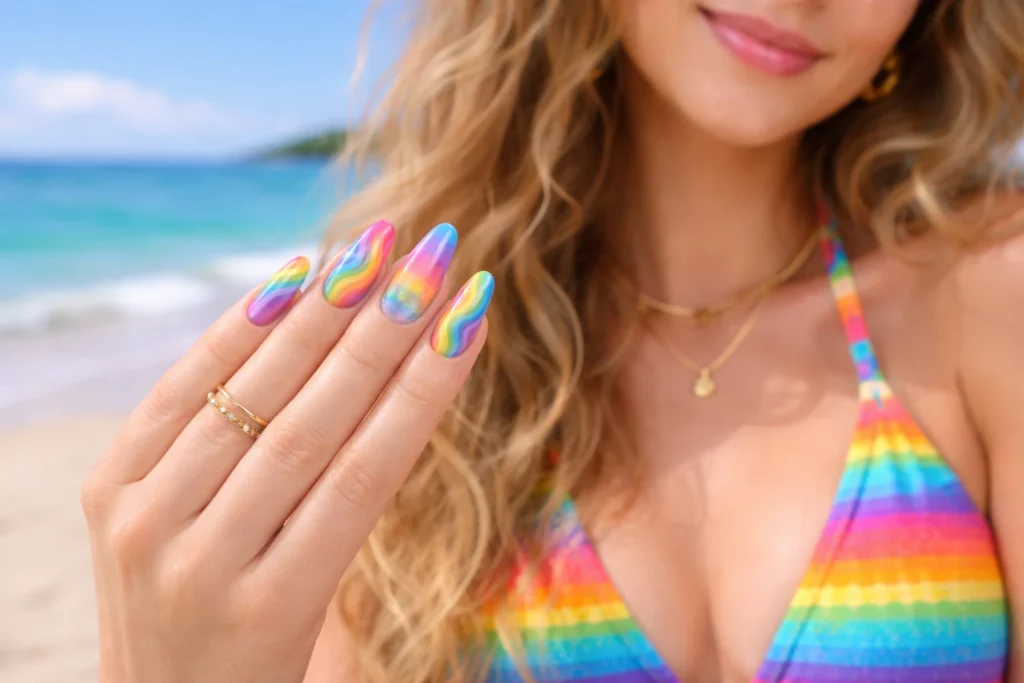
Festivals, Pride & Celebrations
This is where symbolism and color collide.
Bold hues. High contrast. Confident execution. Match nails to outfit details or makeup accents. Asymmetry often works better here it feels alive.
This is not the time to play small.
Events & Photoshoots
Cameras exaggerate everything.
For weddings, vacations, or brand shoots:
- Test designs under natural light
- Avoid muddy mid-tones
- Ensure color balance across both hands
Rainbow nails should enhance the image, not compete with it.
Techniques Used in Nail Art Rainbow Design
Freehand Painting
This is the gold standard.
Pros:
- Total creative control
- Custom designs
- Organic, artistic results
Cons:
- Requires practice
- Demands steady hands
High-quality liner brushes make a noticeable difference.
Stamping & Decals
Precision without the learning curve.
These tools work well when:
- Symmetry matters
- Time is limited
- Repetition is required
They sacrifice originality for consistency, which isn’t always a bad trade-off.
Gel vs. Regular Polish
Here’s the honest comparison:
| Feature | Gel Polish | Regular Polish |
| Color payoff | High | Medium |
| Dry time | Fast (cured) | Slow |
| Longevity | 2–3 weeks | 5–7 days |
| Removal | More involved | Easy |
For layered or detailed nail art rainbow design, gel polish offers better control and durability.
It’s also worth noting that nail products fall under cosmetic regulations in the U.S. The U.S. Food and Drug Administration (FDA) provides official guidance on nail care products, ingredients, and safety standards especially relevant for professionals or frequent users. Their nail care resource is available here:
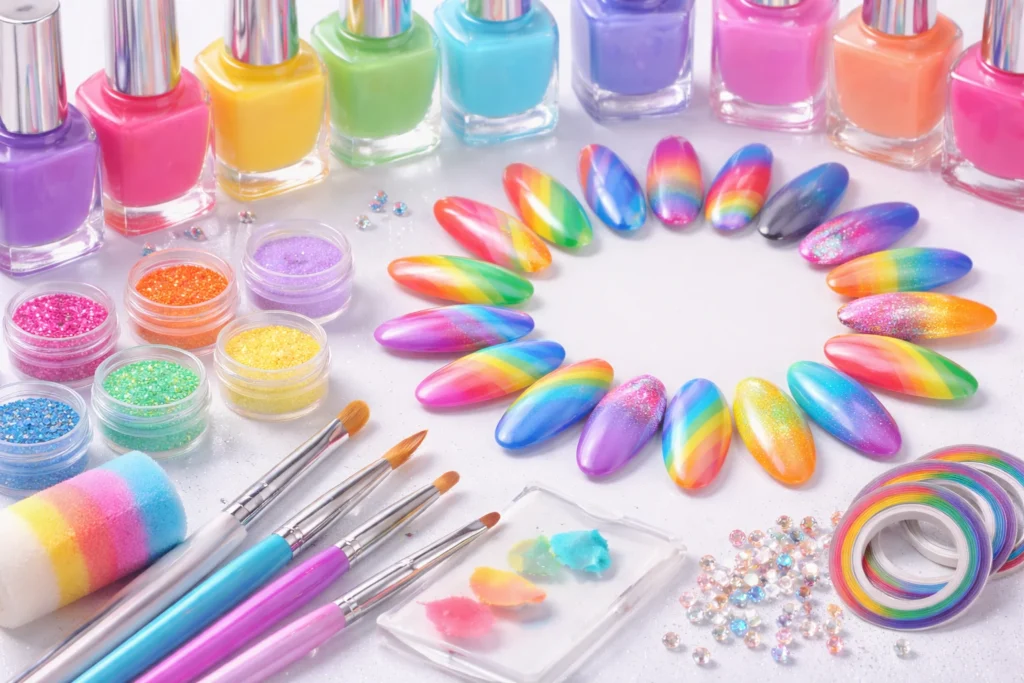
Tools & Materials That Make a Difference
You don’t need everything. You need the right things.
Essentials:
- High-pigment polishes
- Detail brushes (liner and flat)
- Makeup sponge for gradients
- Reliable base and top coat
Cheap polish undermines even the best designs.
Step-by-Step: A Simple Nail Art Rainbow Design at Home
- Prep nails thoroughly
- Apply base coat (white or nude enhances color clarity)
- Lay out colors in spectrum order before painting
- Apply thin layers, building gradually
- Clean edges for precision
- Seal with two layers of top coat
Patience beats speed every time.
Common Mistakes That Ruin Rainbow Nail Art
- Using too many colors
- Ignoring undertones
- Skipping proper prep
- Overcrowding details
If something feels off, pause and edit before committing.
Nail Art Rainbow Design Trends Worth Watching
Current directions emphasize intention over excess:
- Minimalist rainbow tips
- Earth-toned rainbows
- Matte and gloss contrast
- Negative space integration
Trends change. Good design principles don’t.
How to Make Rainbow Nail Art Last Longer
Longevity is process, not luck.
- Dehydrate nails before polish
- Cap free edges
- Avoid hot water for 24 hours
- Reapply top coat every few days
Good maintenance doubles wear time.
Making Nail Art Rainbow Design Your Own
Here’s the truth.
The best nail art rainbow design isn’t the loudest or the most complex. It’s the one that aligns with your style, your hands, and your life.
Experiment. Refine. Edit.
Color is powerful. Use it with intention.
And don’t apologize for choosing joy especially when it’s this well designed.
FAQs
Nail art rainbow design uses multiple colors arranged intentionally to create balanced, spectrum-inspired nail looks.
They’re no harder than other nail art styles when properly sealed and maintained with a quality top coat.
Yes, muted tones, thin lines, and pastel gradients make rainbow nails suitable for professional settings.
Medium to long nails offer the most flexibility, but short nails work well with minimal or vertical designs.
Gel polish provides stronger color payoff and longer wear, especially for layered rainbow designs.
Five to seven colors usually create balance without overwhelming the design.
Yes, pastels work well in spring, brights in summer, and muted tones in fall and winter.
Absolutely simple stripes, gradients, or accent nails are beginner-friendly options.
Messiness often comes from poor color order, overcrowding details, or skipping proper nail prep.
With proper prep and gel polish, rainbow nail art can last up to two to three weeks.